Construct and populate the rack
For this page you will need
Tools
Mechanical Components
Previously Assembled
3D printed parts
- 1 base plate
- 4 rack legs
- 1 top plate
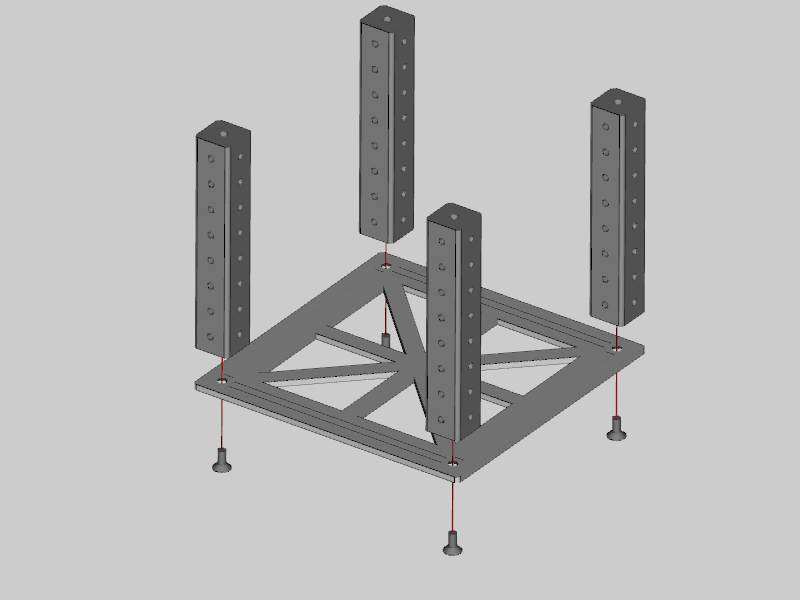
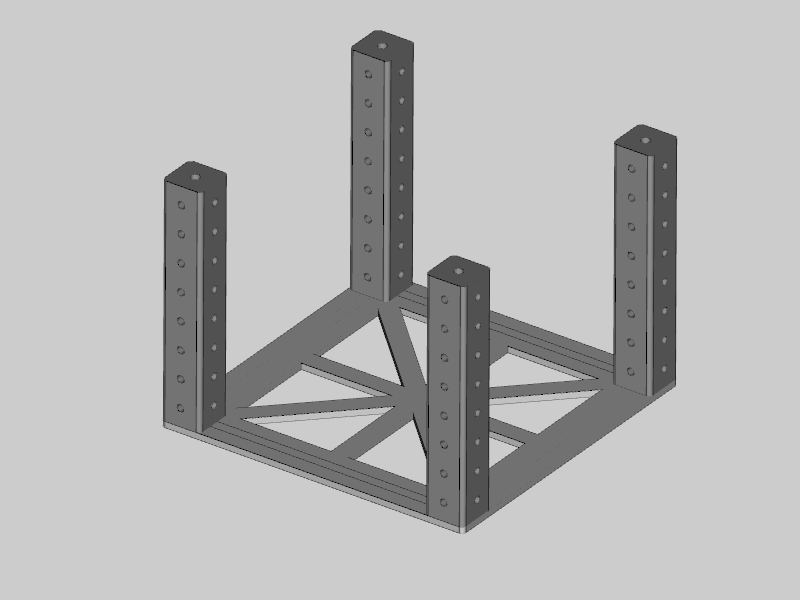
Step 1: Attach the legs to the base plate
- Get the base plate and the four rack legs that you printed earlier.
- Get a 4mm Allen key ready
- Use four M5x10mm countersunk screws to attach a leg to each corner of the bottom.
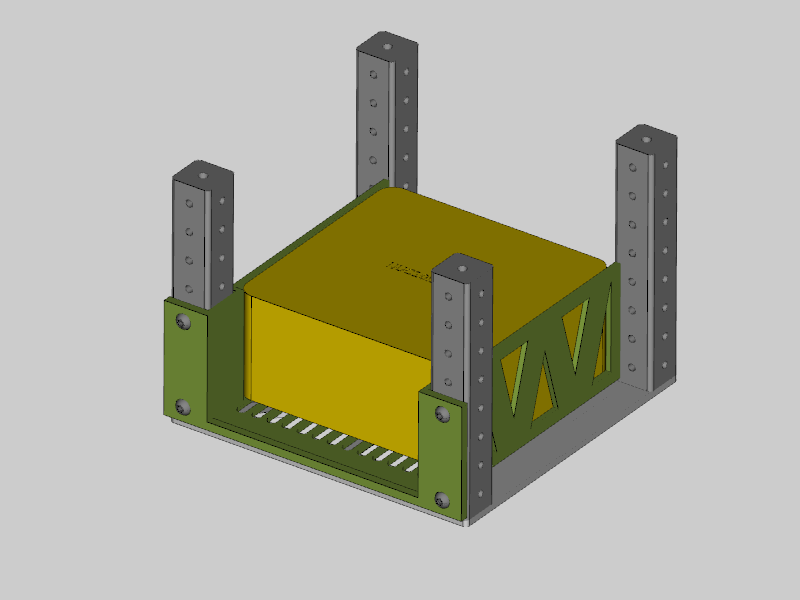
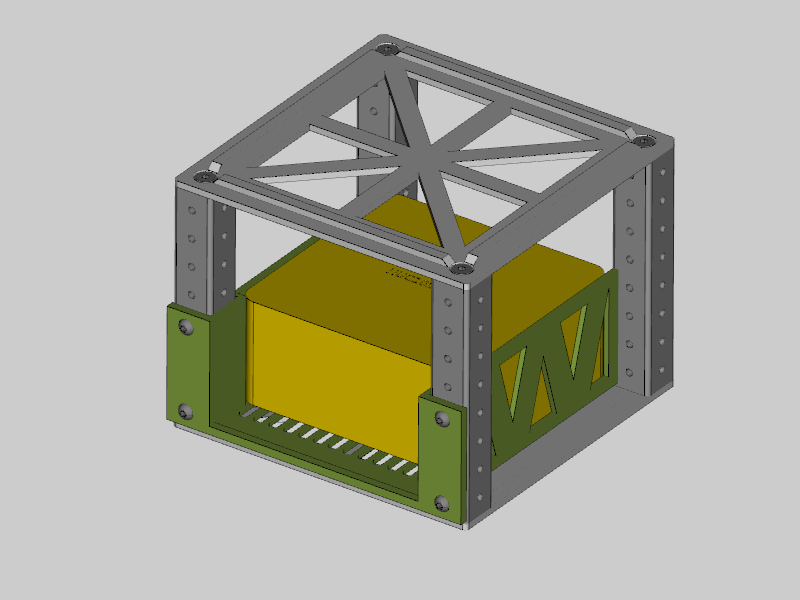
Step 2: Add the broad shelves
- Take the assembled NUC10i5FNH shelf and slide into the rack from the top.
- Secure in the position shown in the image below with four M4x10mm button head screws.

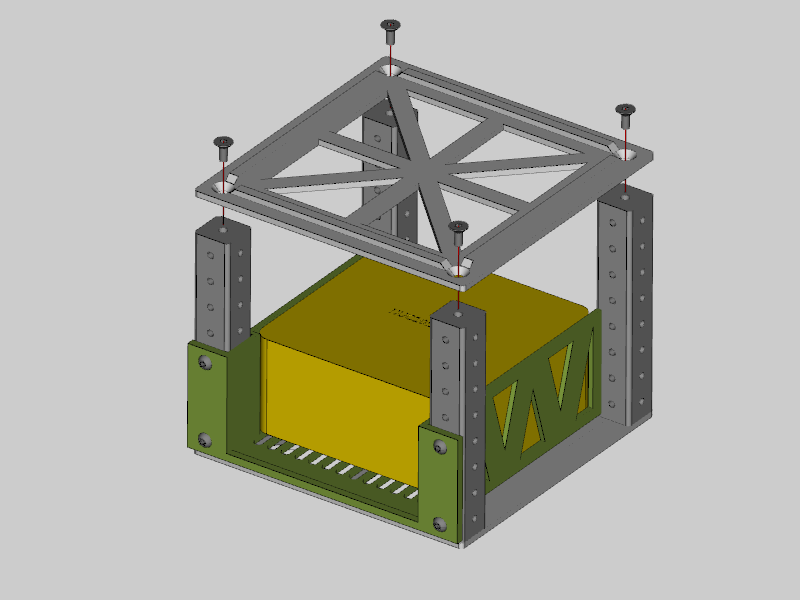
Step 3: Mount the top plate
- Take the top plate and place it on top of the rack.
- Use four M5x10mm countersunk screws to attach the top to the four legs of the rack
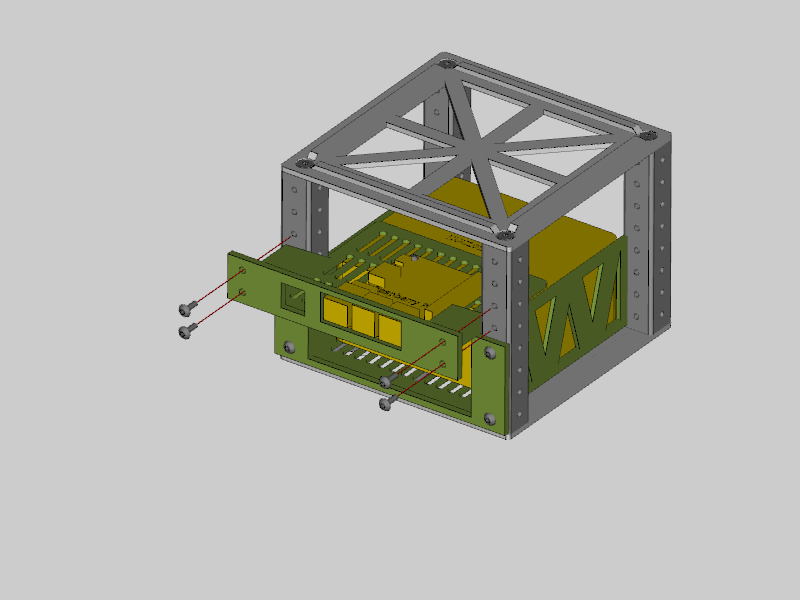
Step 4: Add the remaining shelves
- Take the assembled Raspberry Pi 4B shelf and slide into the rack from the front.
- Secure in the position shown in the image below with four M4x10mm button head screws.
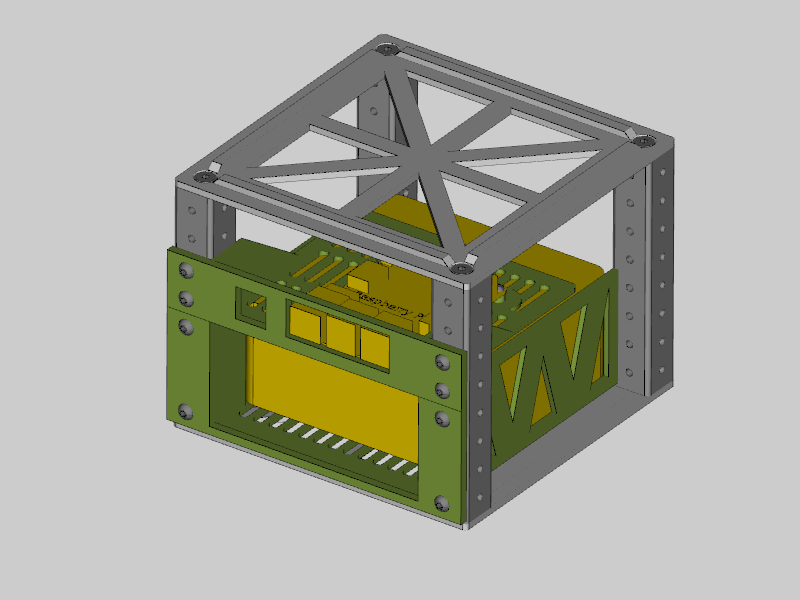
Step 5: Final set-up
Your rack should now look like this:
The next steps depend on what you want to do with your rack.
- You could put it in a Peli case.
- You will need to wire it. Our component database doesn't have enough information to know how to wire any arbitrary rack. But we suggest you go to the Wakoma website. Join the community, and dicuss wiring your nimble.