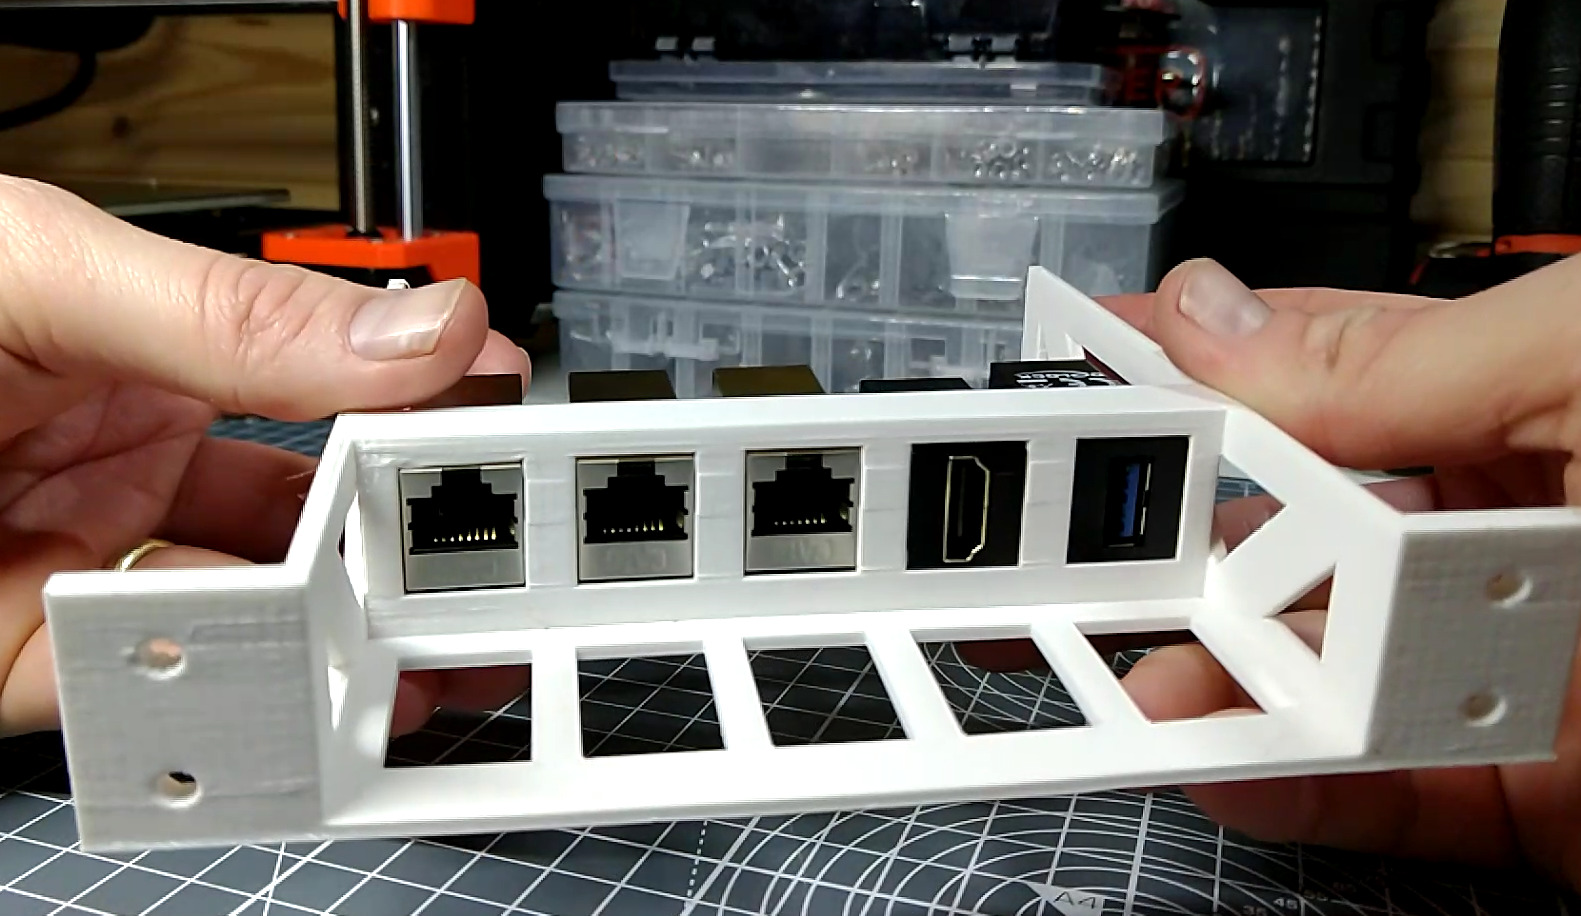
Assemble the Patch Pannel
For this page you will need
Networking Compontents
3D printed parts
Struggling to inset keystones?
If you are struggling to insert the keystones following the instructions on this page, a flat head screwdriver can be used to gain a little more leverage.
Be careful whenever using screwdriver to lever as the screwdriver can slip causing injury.
Step 1: Attach the Ethernet Keystones
- Take the Patch panel you printed earlier and three ethernet keystones
- These will be clipped into the three left hand panels
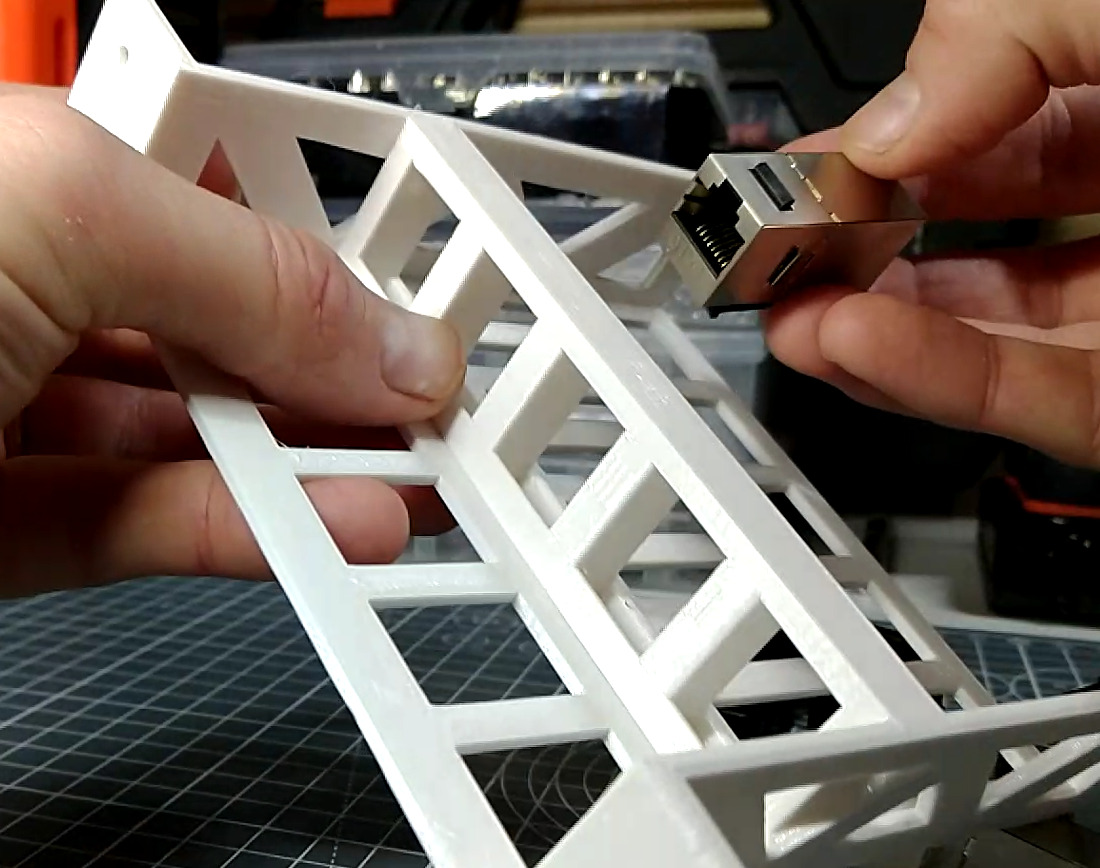
For each keystone:
- Locate the top of the keystone with the catch
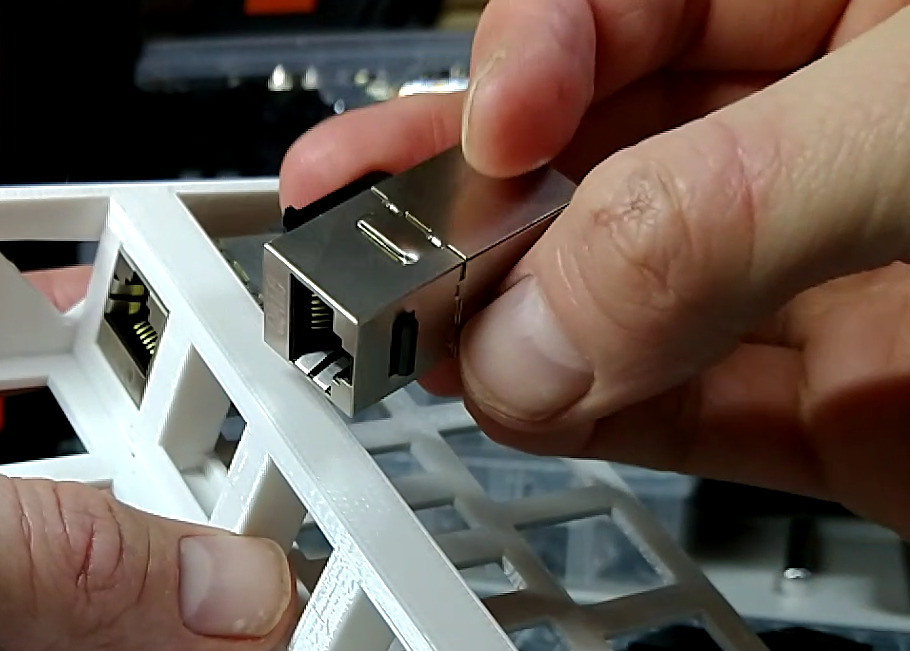
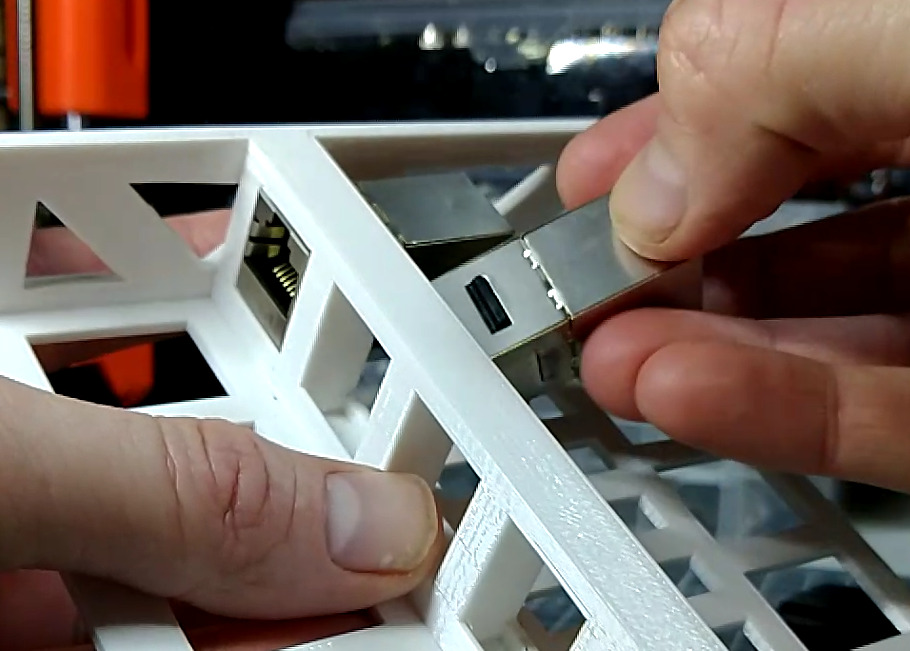

- Tip the keystone into the hole, rotate it downwards until it clicks into place
- It might help to support the front of the keystone with your thumb as your click it into place.
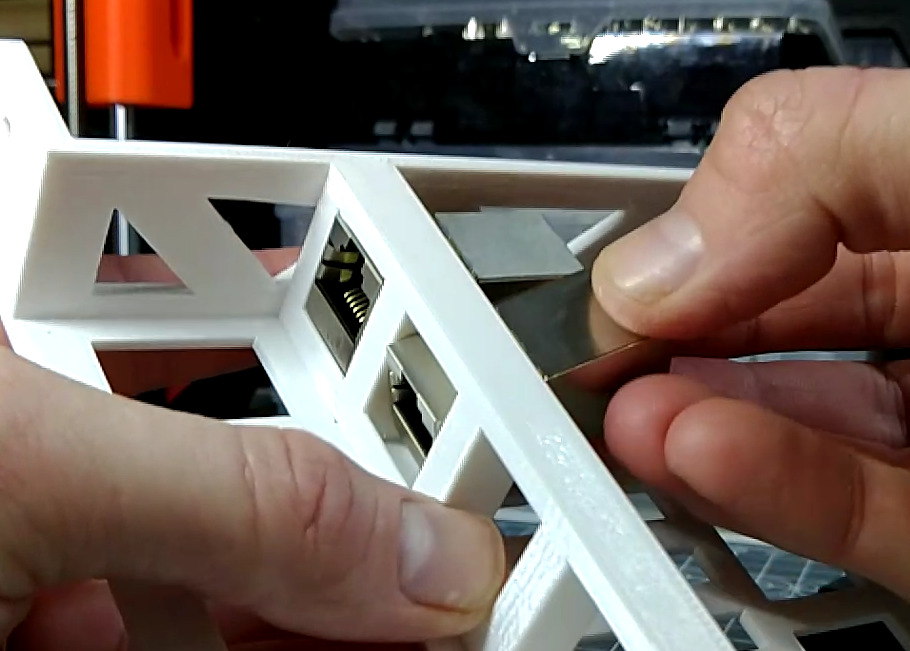
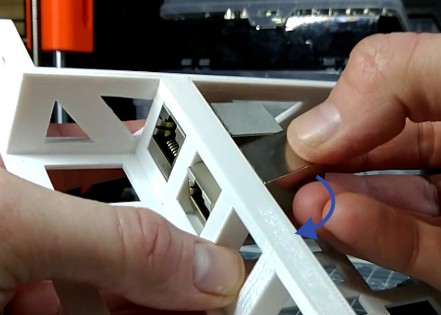
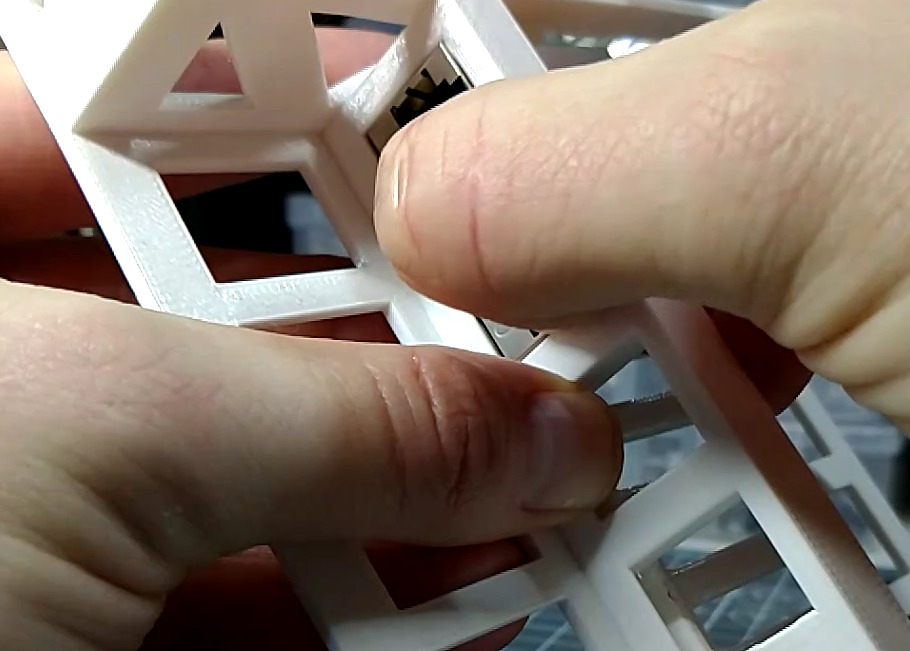

- Once done it should look like this.
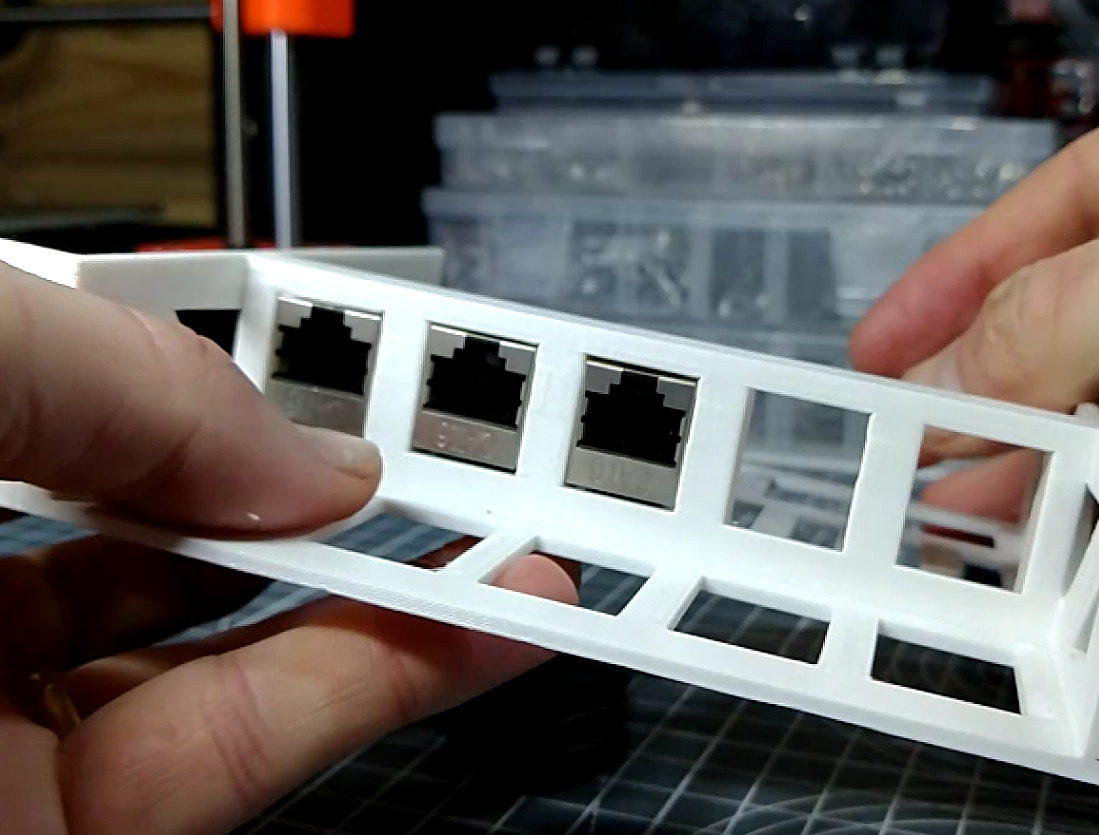
Step 2: Attach the HDMI and USB Keystones
- Repeat this process for an HDMI Keystone and a USB Keystone
- Note that the keystones are mounted rotated by 90 degrees.
