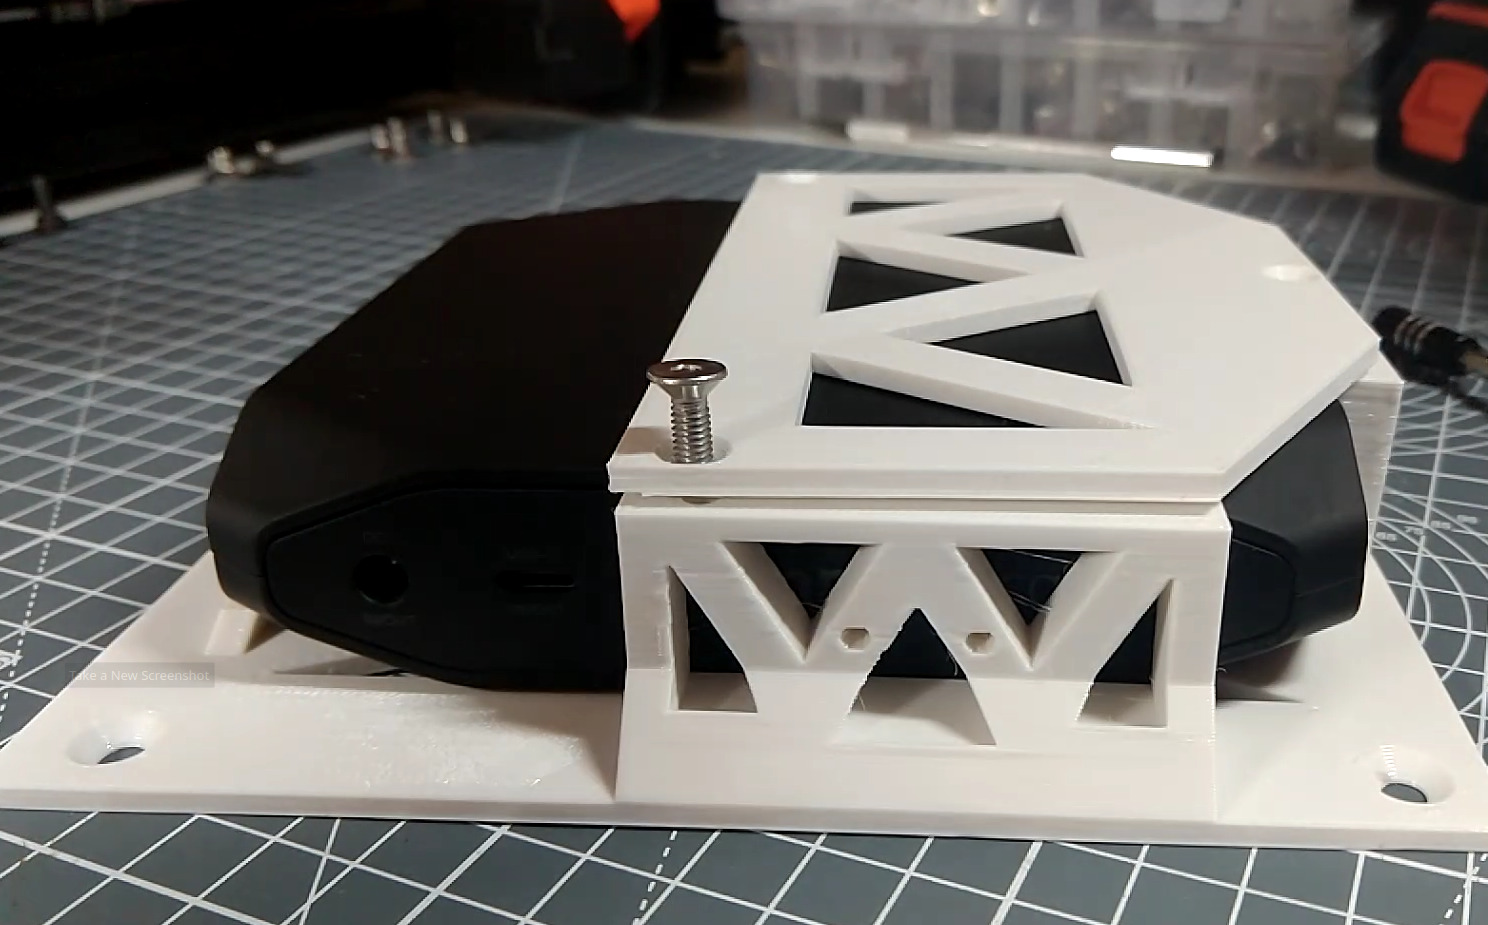
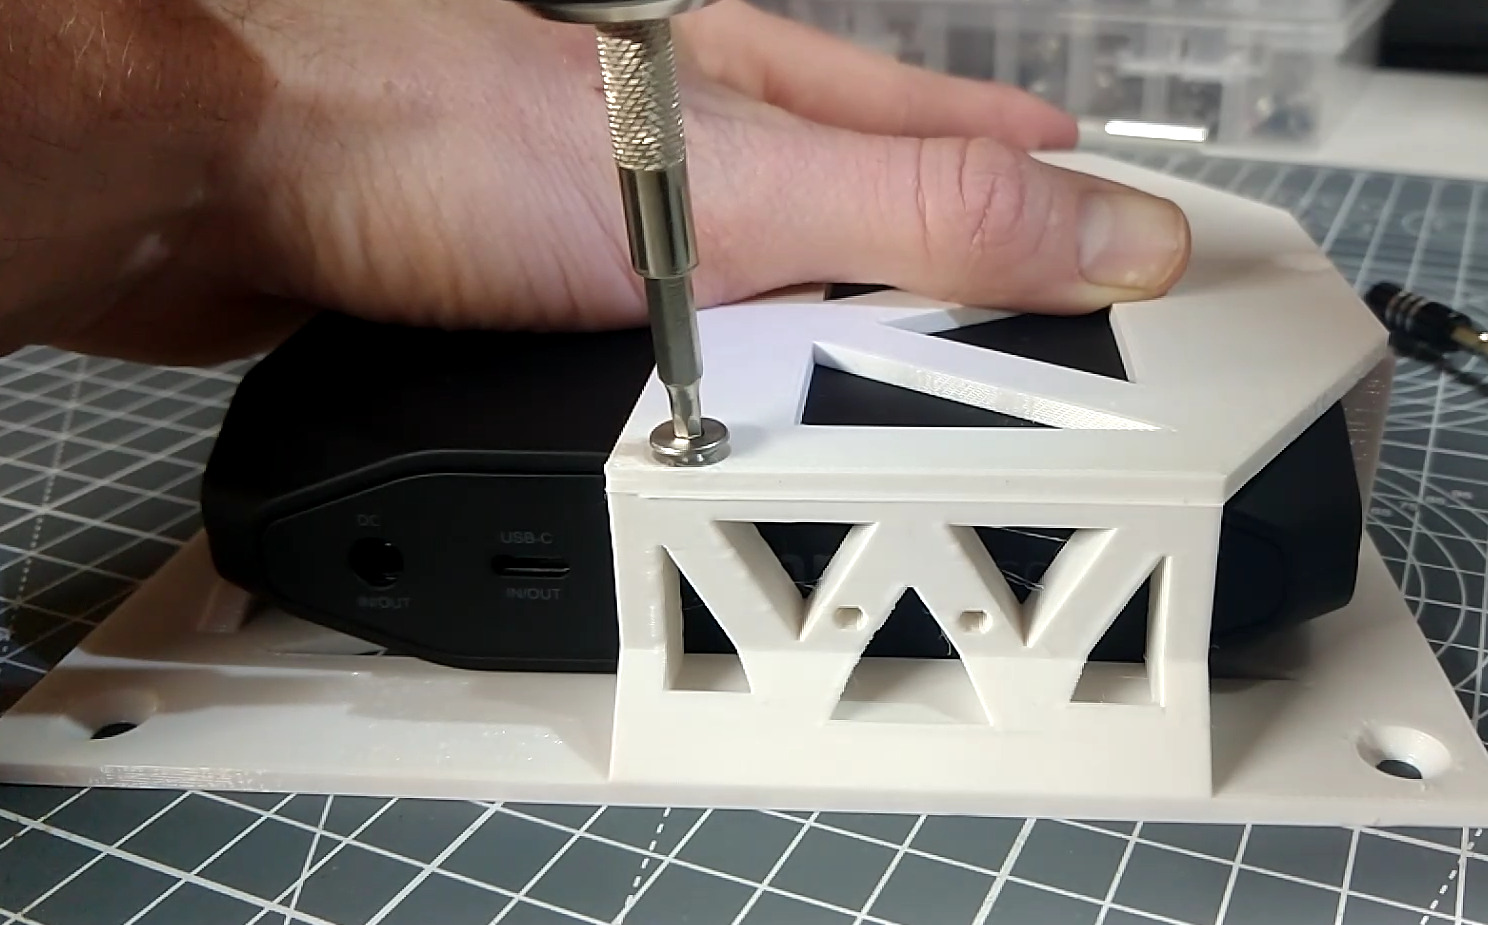
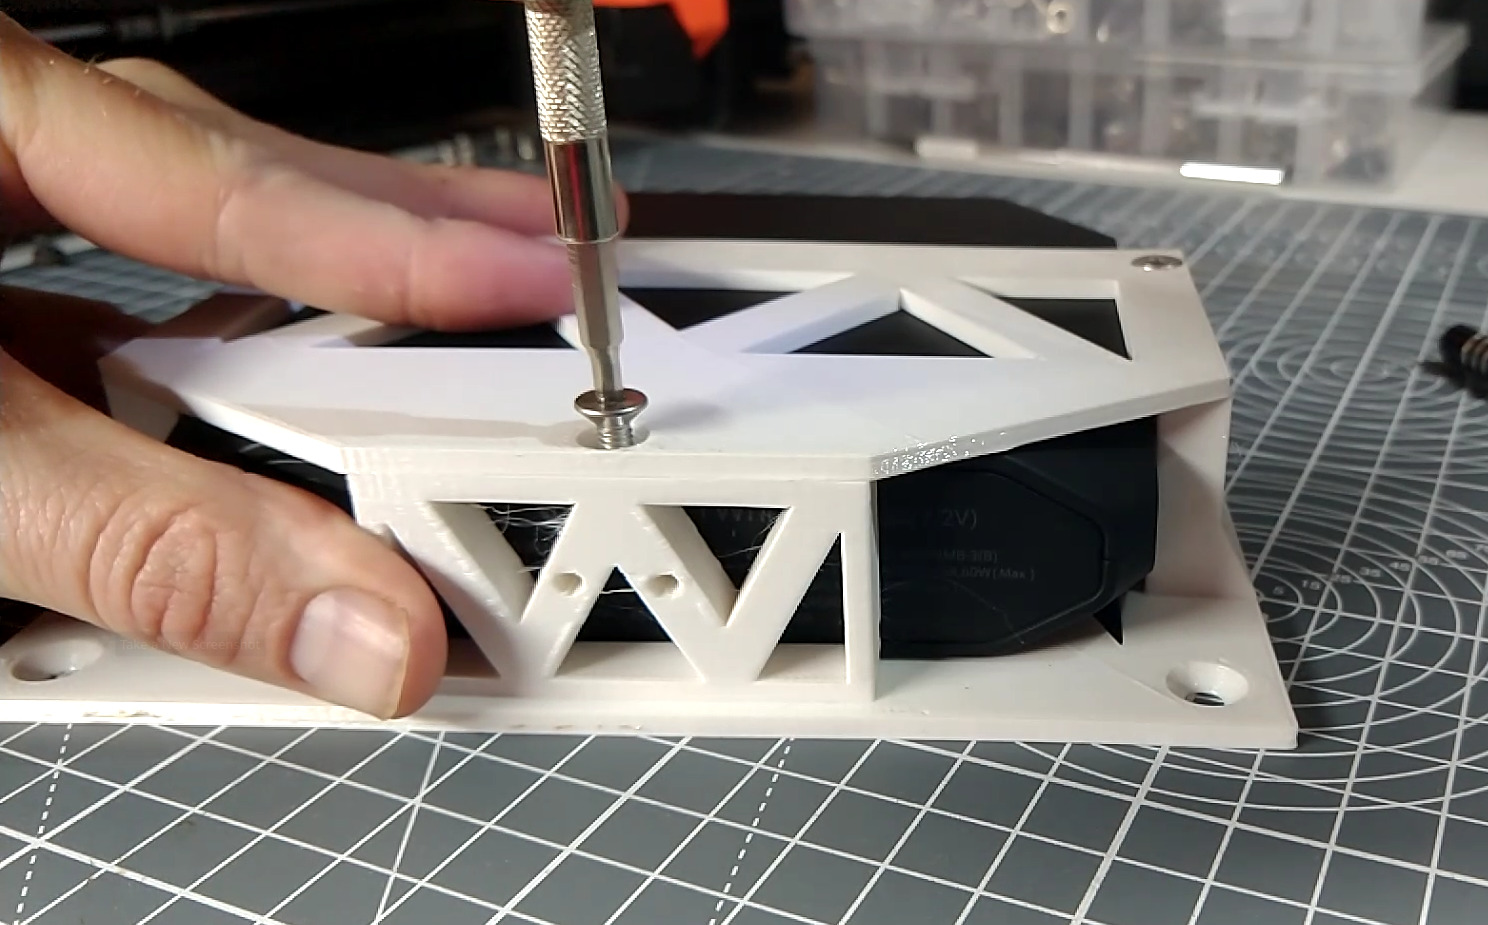
Assemble the OmniCharge shelf
For this page you will need
Tools
Mechanical Components
Networking Compontents
3D printed parts
Step 1: Position the OmniCharge
Note that this shelf forms the top of the rack, so looks a bit different.
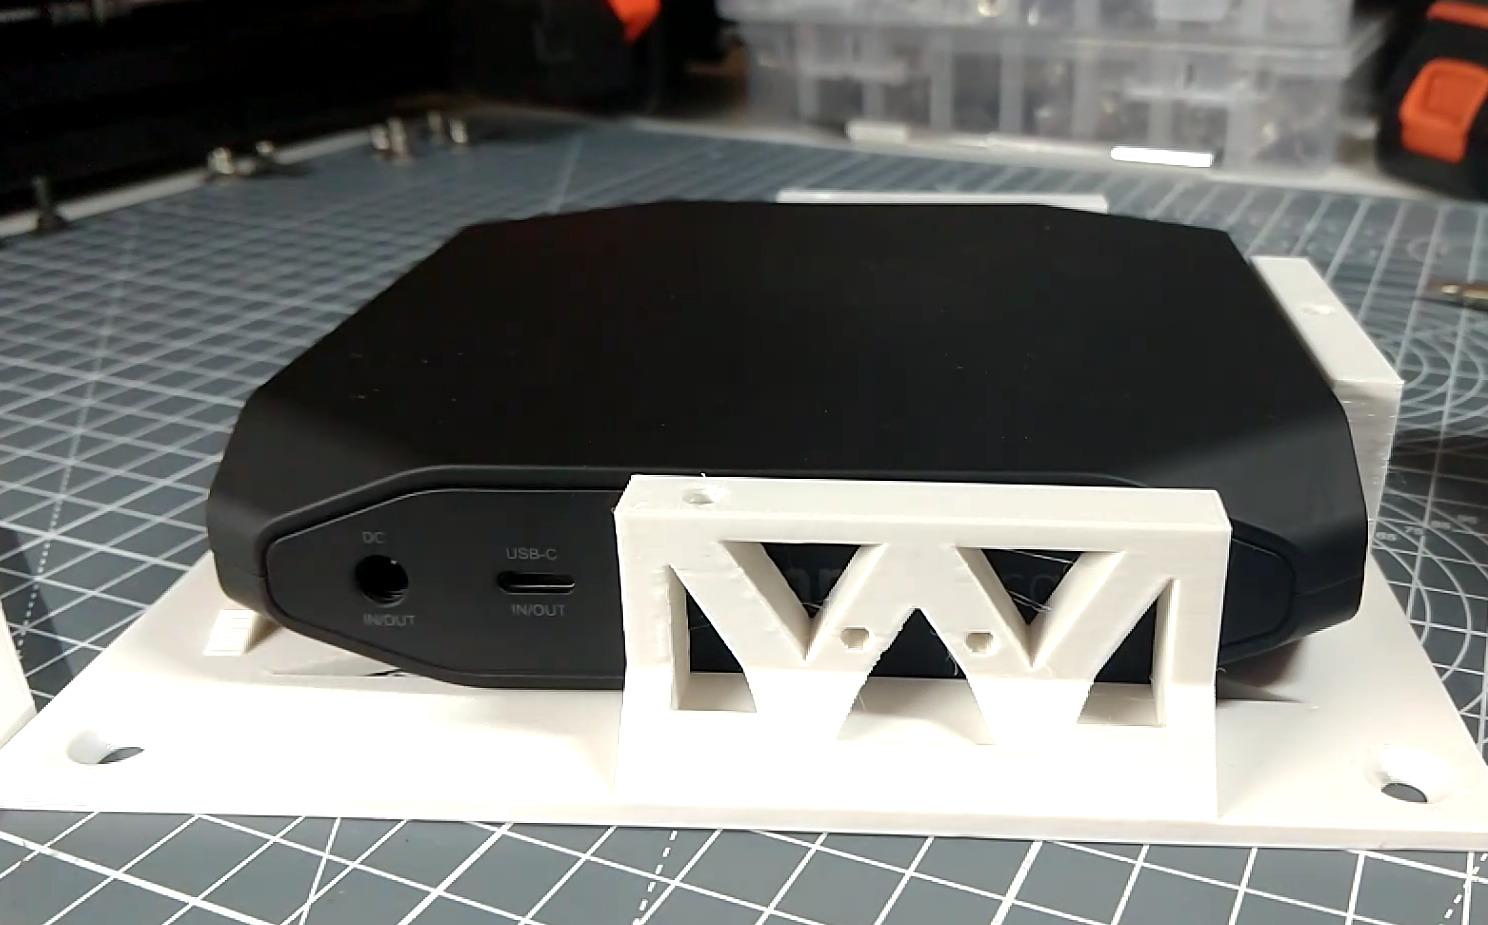
- Take the Omni Shelf you printed earlier.
- Position the Omni 20C+ so that the front of the device is not blocked
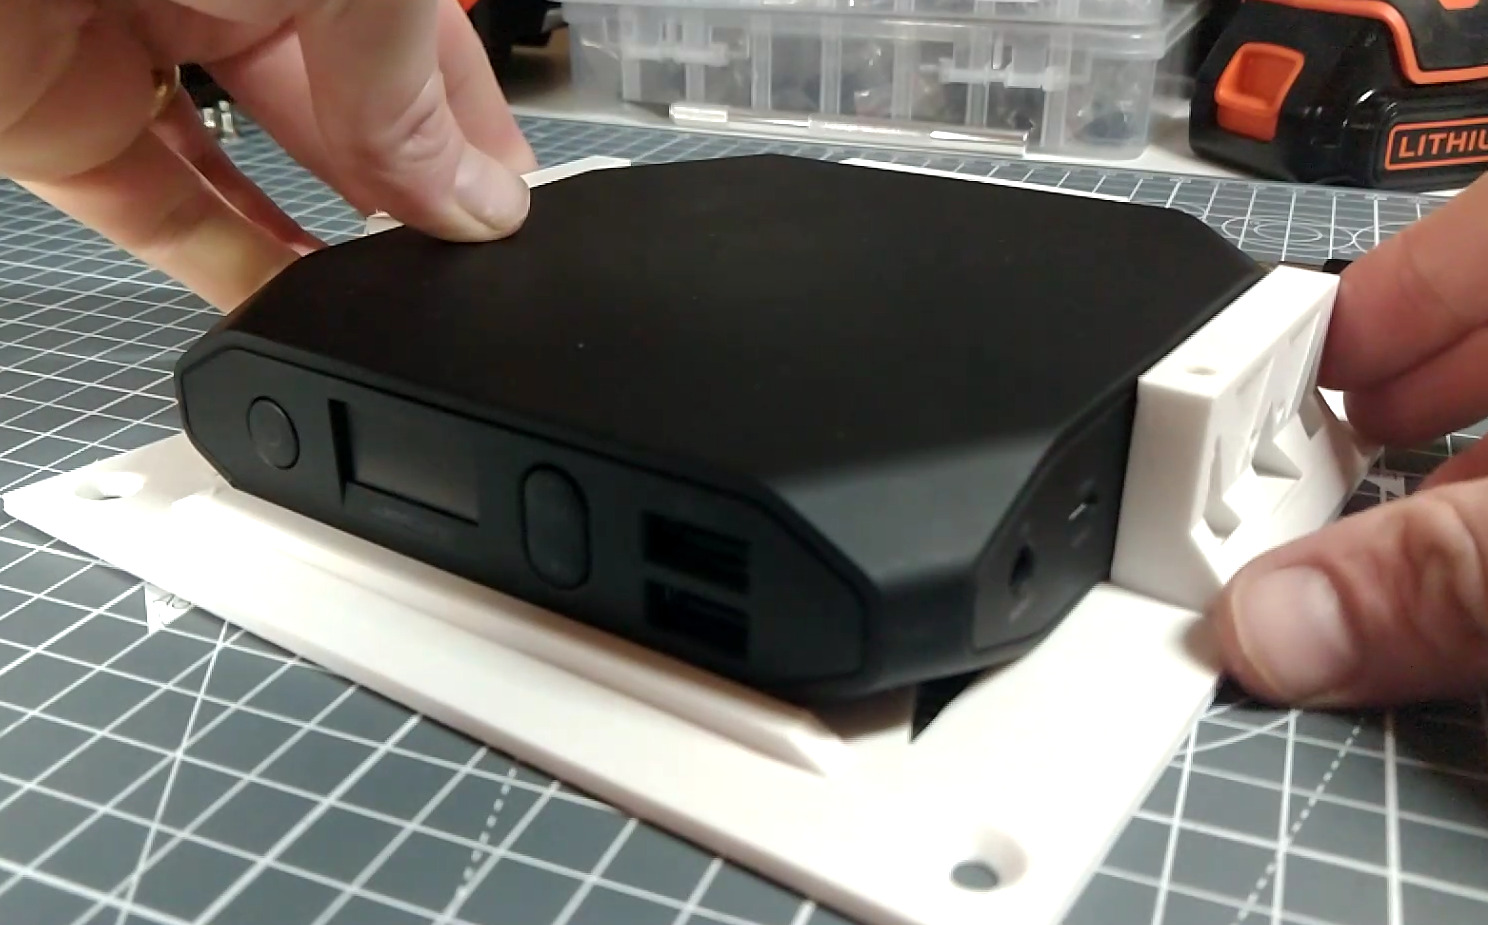

Step 2: Secure the OmniCharge
- Take the Omni Shelf Lid you printed earlier and place it over the Omni, aligning the three countersunk holes with the holes on the shelf.
- Use three M4x10mm countersunk screws and an 3mm Allen key to secure the computer in place
